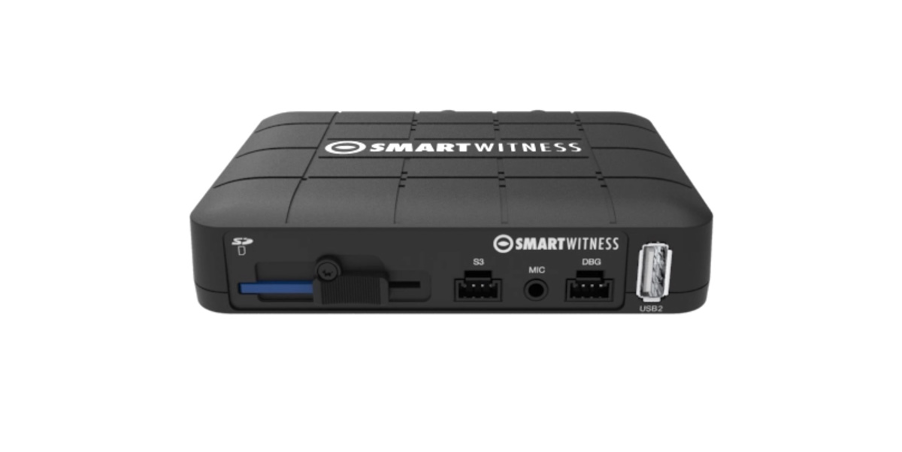
In order to safely remove the SD memory card, you must first power off the vehicle. Turn off the power and then wait until the blue LED light is completely off. You can now safely remove the SD card.
Viewing the footage
SD card footage can be viewed in the Smart Witness PC Viewer Software program supplied on the provided SD card.
If the footage is not already installed, connect the SD card to your PC or laptop, using the SD card slot if available or a USB SD card reader, and open “My Computer”.
- Connect the SD card into your PC (if your computer does not have an SD card slot use a USB SD card reader) and open “My Computer”
- Right-click the “FHDRM” drive and select “Open”
- Double click [setup.exe] in the [pcsw] folder.
- Select the language and then follow the dialog box prompts.
The below main screen will open.
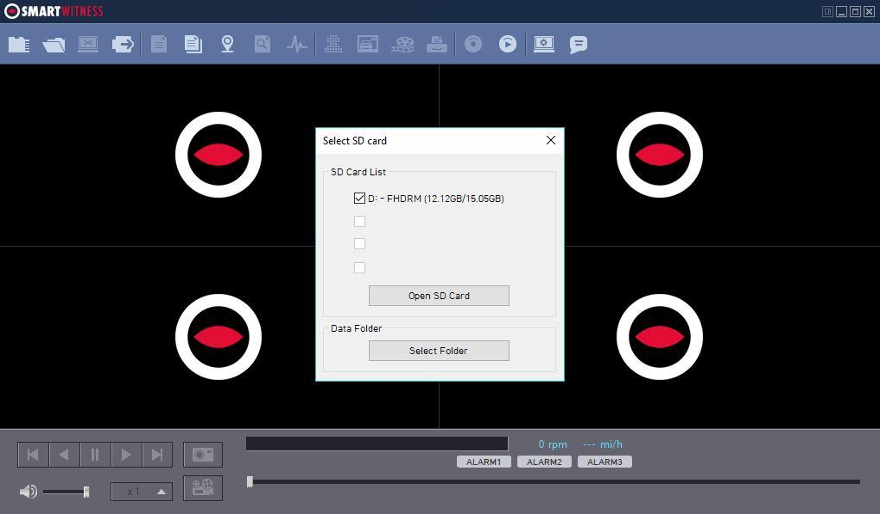
- Click the ‘Select SD Card’ icon.
- Select the SD card drive and click ‘OK’
- Click ‘Open SD Card’
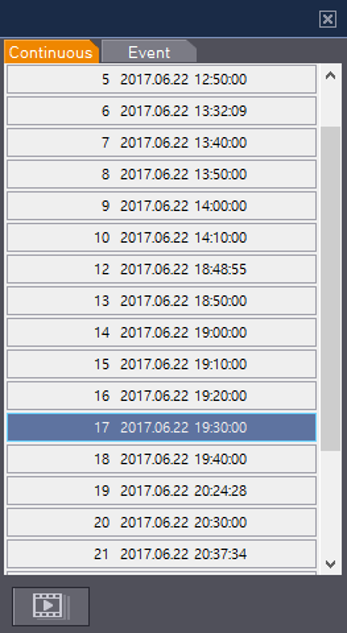
The playback list (below) will be displayed on the right side of the screen, with ‘Continuous’ and ‘Event’ tabs. You can hide this by clicking the ‘X’ close icon and display it again by clicking the ‘File List’ icon from the tool bar.
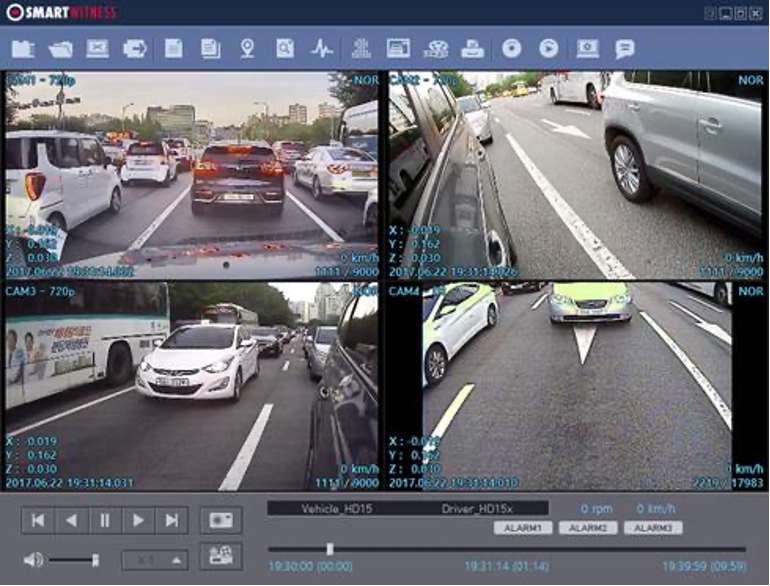
Playback can be operated using the control buttons (1). You can jump to different times by sliding the time slide bar (2) for precise changes.
Saving the footage
From the PC Viewer Software, you are able to convert the footage into an MP4 video file.
When viewing the video playback, pause the video at the point where you wish to start saving and click the ‘Save MP4 Video’ button. 
This will open the below window.
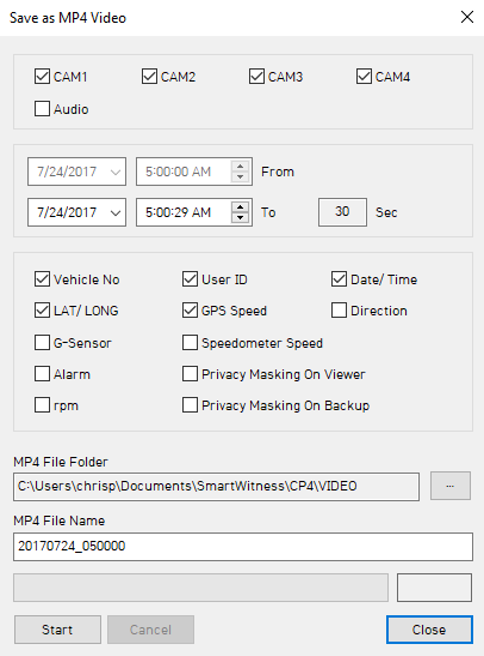
- Select the cameras you wish to save.
- If you wish to include audio, check the ‘Audio’ box.
- Select the time period you wish to save (up to a maximum of 1 hour).
- The starting time will be automatically set to the time you paused the video at the start of this process and cannot be changed manually. To change this time, you will need to go back to viewing the video footage and pause at the correct start time.
- Select any additional information you wish to include in the video from the tick boxes available. This information will show up as text on the video.
- Choose the folder you wish to save the MP4 file in and type a file name.
- Select ‘Start’. A video of each camera will be made into an MP4 file and saved to the folder selected in step 5.